Overview
Contact groups allows you to create custom groups to manage your tenant, guarantor, and owner contacts.
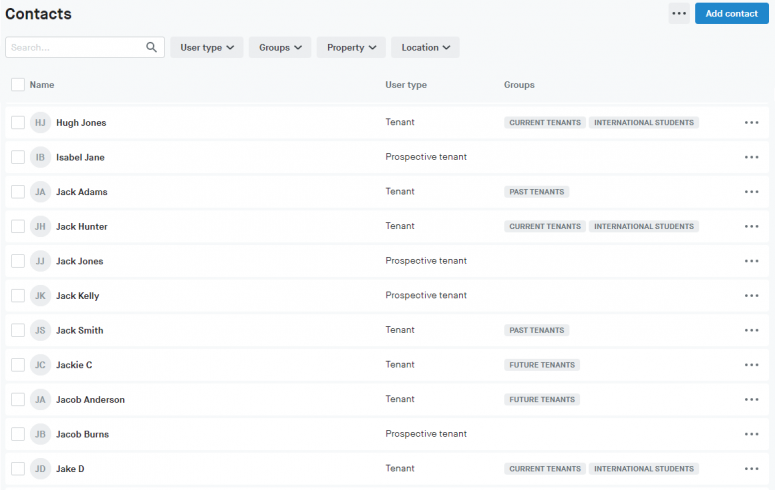
You can add multiple contacts (of the same user type) to a group at once by selecting them from the Contacts portal.
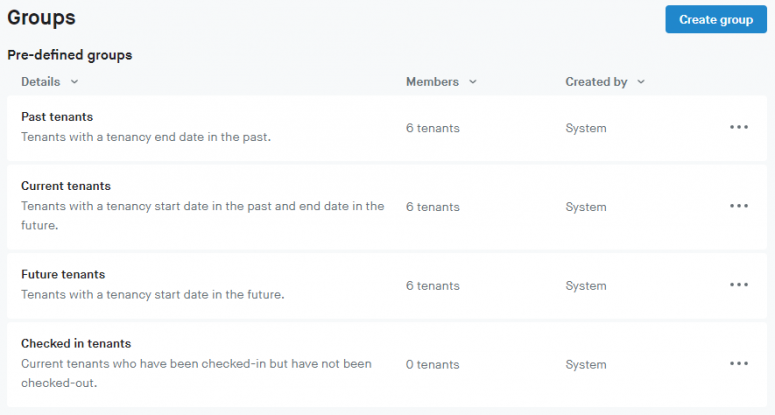
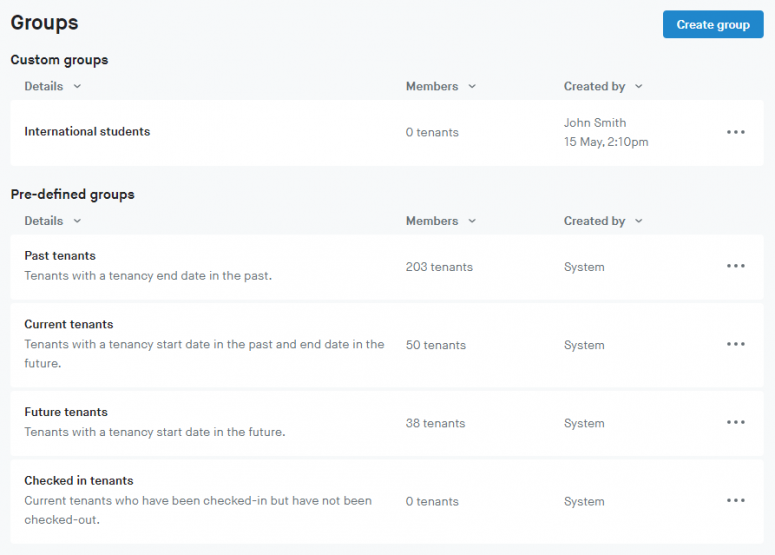
There are 4 pre-defined groups for past, current, future and checked in tenants. Tenants are added to these groups automatically based on the status of their tenancies.

Create a new group - 1
1. From the Contacts centre, click (...) next to the Add contact button to access the Groups settings.
2. Click the Create group button
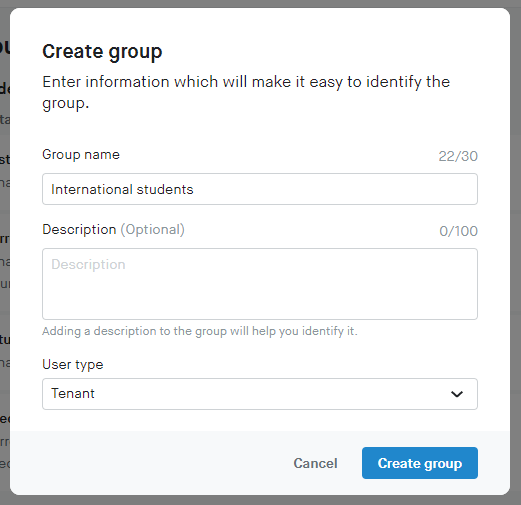
3. Enter the details for the new group
Group name - This is what will appear in the group filter and on the Contacts portal when a contact is added
Description
User type - Only contacts that are the selected user type can be added to the group

Create a new group - 2
4. Once added, your custom group appears above the pre-defined section.
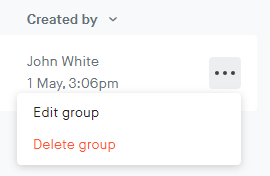
5. Groups that you create can be edited or deleted.

Add contacts to a group
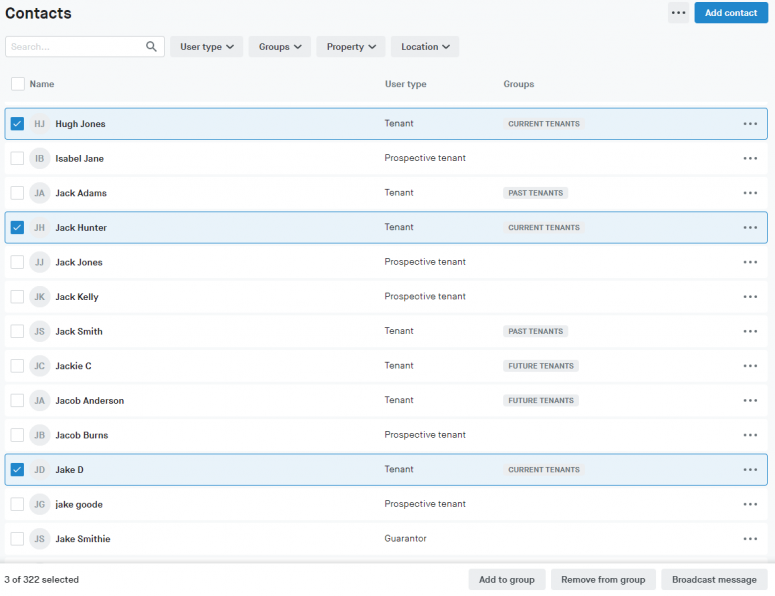
1. From the Contacts portal, select the contacts you wish to add to a certain group.
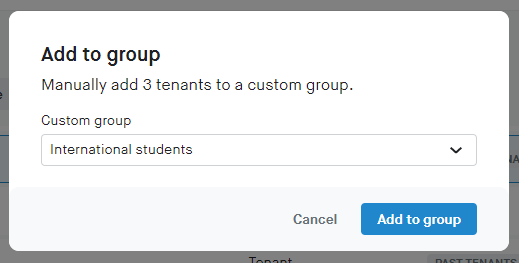
2. Click the Add to group button located at the bottom of the page.
3. Select the group to add the contacts to.
4. Once added, the group is shown under the Groups column.
Contacts can be added to multiple groups.

Remove contacts from a group
1. From the Contacts portal, select the contacts you wish to remove from a certain group.
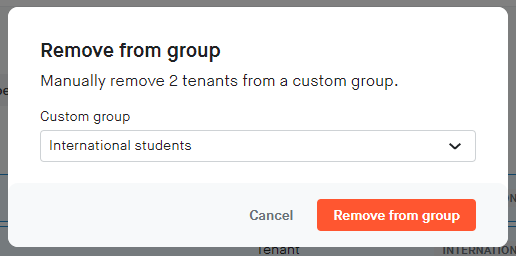
2. Click the Remove from group button at the bottom of the page.
3. Select the custom group to remove the contacts from.

