



Automations
You can now add automation to create a new maintenance ticket based on the file expiry date.

Set up an automation
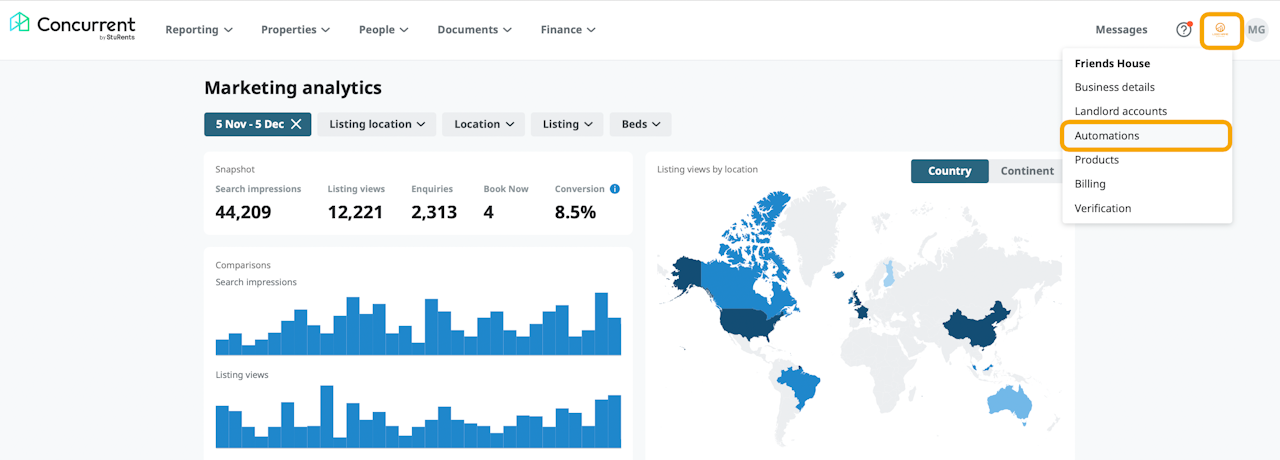
After you log in, navigate to Automations in the Landlord menu - your logo icon in the top-right corner.

Here you can see the Automations dashboard where there is the list of all your active and paused automations. You can filter them by the user who created the automation and what account the automation is applied to.
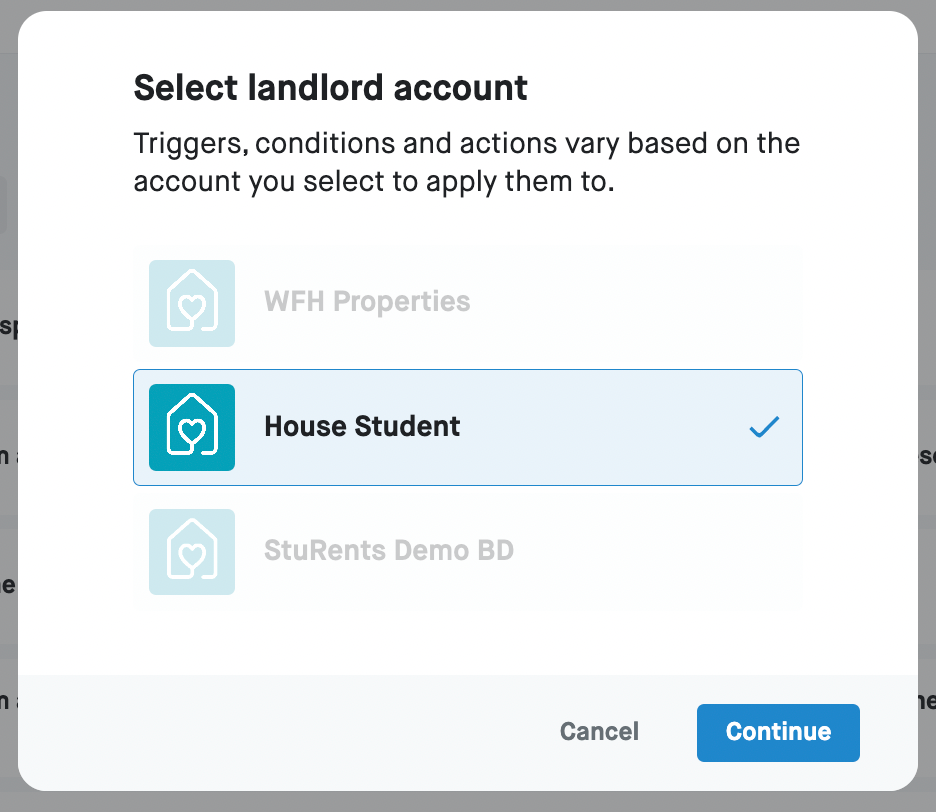
Click Create Automation and select what account you want to apply the automation to.

Add a trigger
Scroll down to the Property Manager triggers, and add the trigger: A file is due to expire.

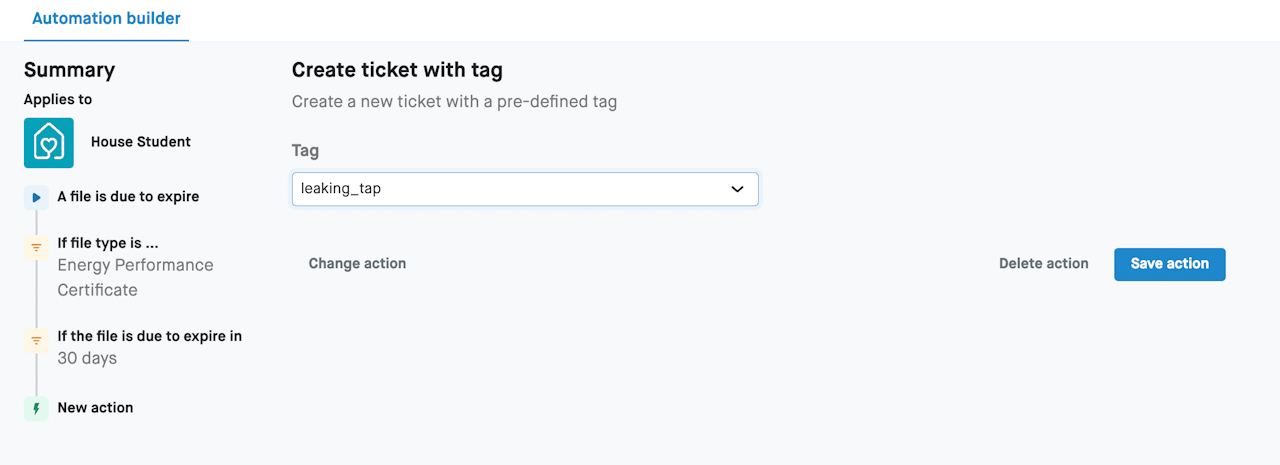
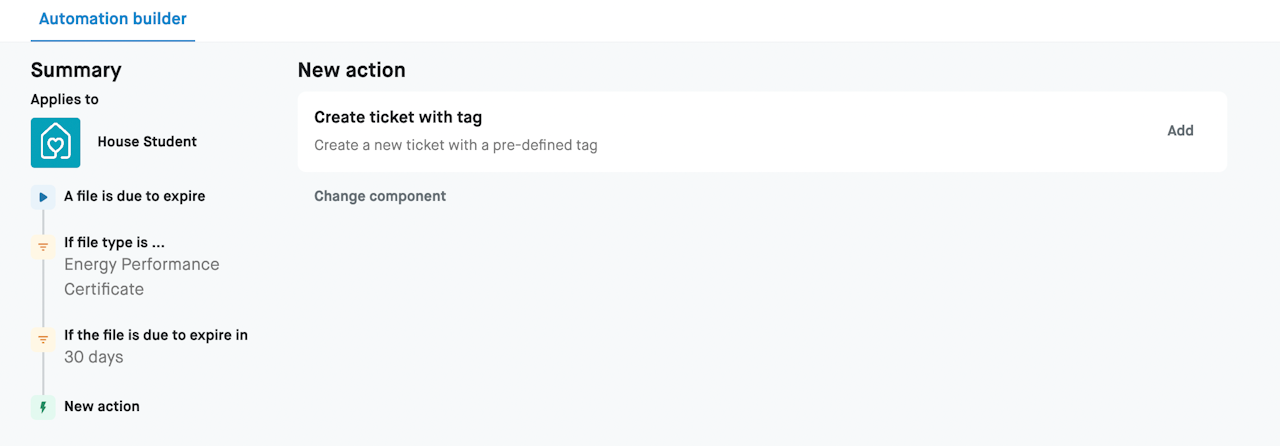
After you added a trigger, you are now on the Automation builder page where you can add the triggers, conditions and actions. Click Save trigger.

Add a condition
Click Add next to the New condition row to set the rule for your automation.
You can select multiple conditions for this trigger:
If the file is of a specific type(s)
If the file is due to expire within a specified period of time
Select the condition(s) and click Save Condition.

Add an action
Click Add next to the New action row.

Select Create ticket with a tag.
Pick a tag and click Save action.
Tags are selected from the list of existing ones - you can’t add tags through the automation, only use ones that already exist. If you need a new tag for expired files (e.g. 'recertification') you’ll need to add it to an existing maintenance ticket for it to appear in the automation.

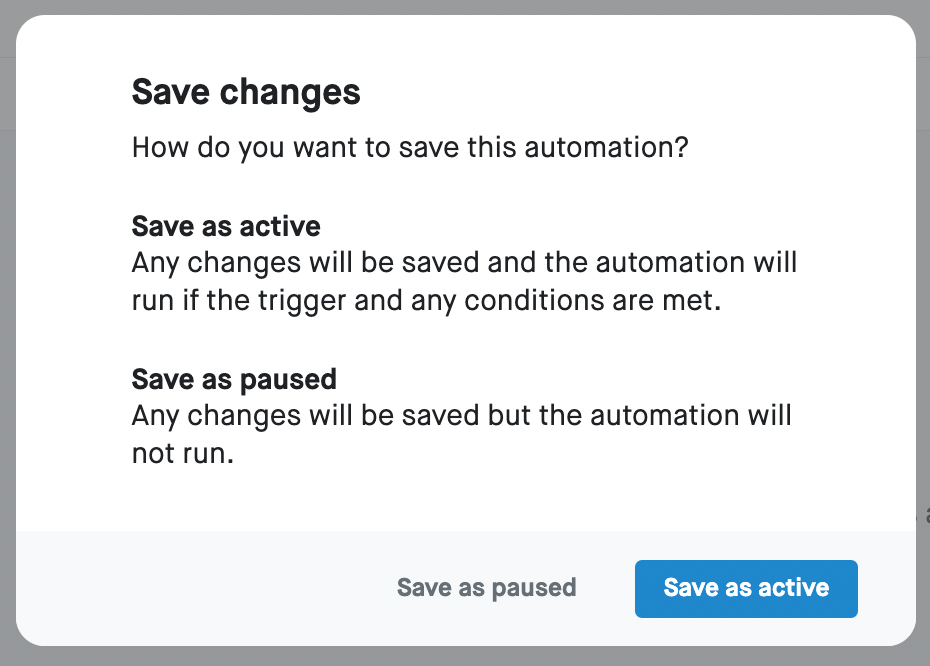
When all components are added to your automation, click Save changes in the top-right.
In the pop-up window select if you want to save the automation as active or as paused.

Your automation is now saved in the list among others in the dashboard.
When you click on the settings icon, you can pause/activate, edit and delete the automation.

